


Build Your Own DeepSeek-R1 ChatBot That Can Search Web
"The server is busy. Please try again later." - If you hate seeing this.

If you read my article on the DeepSeek R1 model, you are expecting this article.
If you haven’t read my previous post regarding how the DeepSeek R1 model broke the internet, read it first:

In this article, I will provide a quick overview of how to set up a local chatbot that can perform web searches using the open-source DeepSeek R1 model.
It would be challenging to write this, as it is pretty technical. I struggled when considering it because the newsletter is positioned to explain the tech stuff in a non-technical way for the audience … but I still did it because it would benefit you guys who want to start their AI journey.
I tried my best to explain it in a non-technical way (cause we are semi-experts, right?), but if you still have any issues, send me a DM on Substack (especially if you are on Windows; I used a Mac for this setup).
What To Expect
After following this quick guide, you can spin up a simplified chatbot on your laptop/desktop that looks like this:

(The output could be formatted nicer, but later. I forced myself to publish this article today)
We will go through the basic setup and follow the step-by-step guide to kick-start your AI learning journey.
Why Running Locally? Can’t I Use the DeepSeek App / Web Version?
Of course, you can.
When DeepSeek AI Assistant gets more and more popular, the frequency that I see this has increased:

… and this could happen for quite a while.
Besides, people might have privacy concerns about using these companies' AI assistant services.
DeepSeek sends all the data it collects on Americans to servers in China, according to the company's terms of service.
- npr.org
You would not have this concern if this is only running on your computer.
Lastly, this would also be a great start to becoming familiar with some development tools if you want to learn AI.
Setup Resources
Here are some of the things we need before starting:
Your local command terminal (Just type “Terminal” in Mac / “Command Prompt” in Windows)
Python
Docker Desktop
A code editor
If all these above don’t sound familiar to you, here are the resources for you to follow through:
How to install Python
How to install Docker Desktop for Mac and Windows
How to install VS Code (code editor)
Installing Ollama
Ollama allows you to run and manage large language models locally.
First, we download Ollama from the website: Ollama
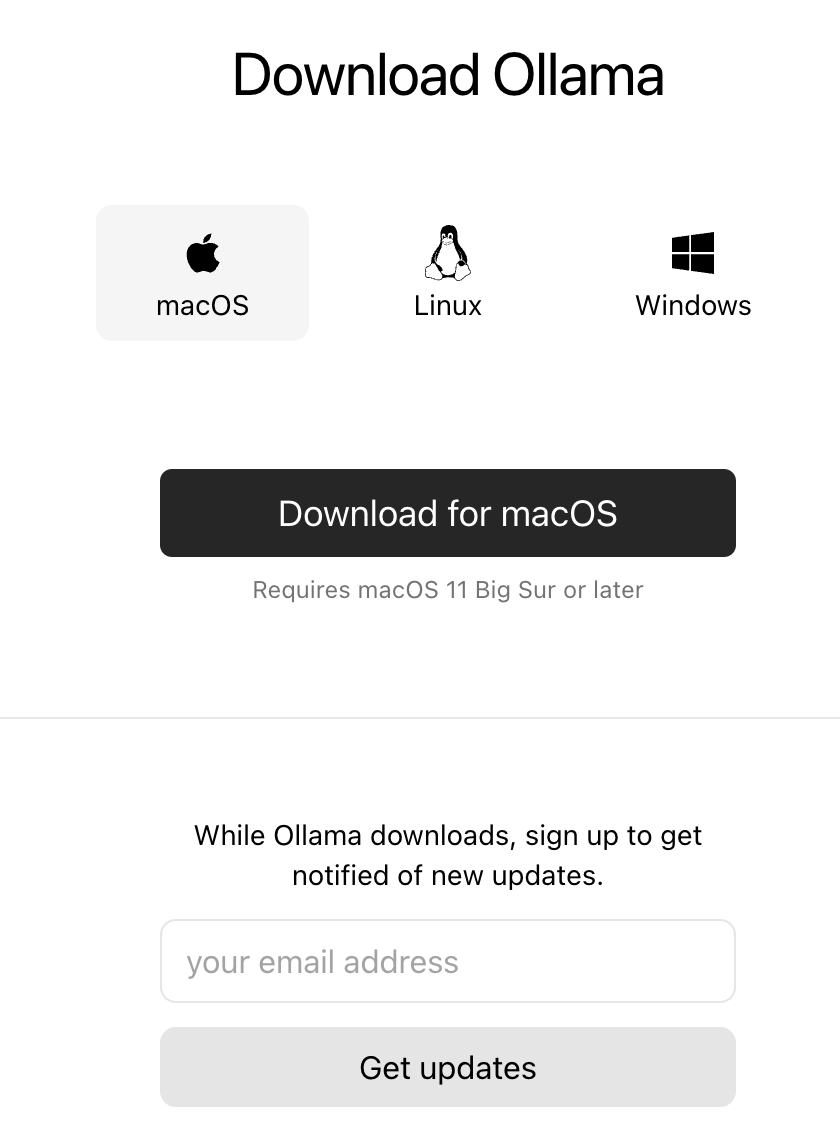
Select the package according to your operating system.
After the installation is done, open up your terminal.
Installing DeepSeek R1 Model
Type the following in the terminal:
ollama run deepseek-r1:14bPlease note that this will take up around 9GB of disk space.
Other smaller distilled models are available for download on DeepSeek R1. However, I had a bad experience using models smaller than 14 billion parameters.
After you run the above command, you would expect to see an interactive terminal for you to enter your prompt:
(base) dylanoh@Dylans-MacBook-Pro search % ollama run deepseek-r1:14b
pulling manifest
pulling 6e9f90f02bb3... 100% ▕██████████████████████████████████████████████████████████████████████████████████████▏ 9.0 GB
pulling 369ca498f347... 100% ▕██████████████████████████████████████████████████████████████████████████████████████▏  387 B
pulling 6e4c38e1172f... 100% ▕██████████████████████████████████████████████████████████████████████████████████████▏ 1.1 KB
pulling f4d24e9138dd... 100% ▕██████████████████████████████████████████████████████████████████████████████████████▏  148 B
pulling 3c24b0c80794... 100% ▕██████████████████████████████████████████████████████████████████████████████████████▏  488 B
verifying sha256 digest
writing manifest
success
>>>
You may start chatting to the DeepSeek R1 model now!
>>> Hey DeepSeek, how are you doing today!
<think>

</think>

Hi! I'm just a virtual assistant, so I don't have feelings, but thanks for asking! How can I help you today?
Brutal response.
But anyway, this is a good start because this DeepSeek model is now running on your computer (press Ctrl + d to exit the conversation with the model).
Running Your Search Engine
We are using SearXNG in this demo.
SearXNG is an open-source search engine that aggregates search results from various engines without storing or tracking user data. Here’s a video that gives more technical guide:
We are going to use Docker Compose to set it up quickly.
Open your code editor or any text editor, and paste in this:
version: '3.8'
services:
  searxng:
    image: docker.io/searxng/searxng:latest
    container_name: searxng
    ports:
      - "4000:8080"
    volumes:
      - ./searxng:/etc/searxng
    restart: unless-stopped
Save the file as “docker-compose.yml”.
We can spin up the search engine by typing the following in the terminal at the same directory where you saved the “docker-compose.yml” file.
docker-compose up -dIt will download searxng image, and once you see the following, the search engine is running on your computer.
Creating network "search_default" with the default driver
Creating searxng ... done
Open up your browser, and you will be able to see a search interface like this at http://localhost:4000/search:

Later in our Python script, we will use the API (Application Programming Interface) of our running search engine to perform web searches.
Install Gradio
I promise we will not be far from seeing our chatbot.
Let’s now install an essential component for our user interface:
pip install gradioGradio is an open-source Python library that makes creating interactive web-based interfaces for your Python scripts and machine-learning models easy without needing any front-end development skills.
Final Puzzle: The Python Script
In the last step, let’s create a simple Python script that combines all our resources and makes function calls. Open your code editor again and paste the following:
import gradio as gr
import requests
import ollama
def search_web(query: str) -> list:
    SEARXNG_URL = "http://localhost:4000/search"
    params = {'q': query, 'format': 'json'}
    headers = {
        "User-Agent": "Mozilla/5.0 (Windows NT 10.0; Win64; x64) AppleWebKit/537.36 (KHTML, like Gecko) Chrome/115.0.0.0 Safari/537.36"
    }
    response = requests.get(SEARXNG_URL, params=params, headers=headers)
    if response.status_code != 200:
        print("Response status code:", response.status_code)
        print("Response text:", response.text)
        raise Exception(f"Search query failed with status code {response.status_code}")
    return response.json().get("results", [])
def chat_with_search(query: str, use_web_search: bool):
    # Optionally integrate web search based on user toggle
    if use_web_search:
        results = search_web(query)
        context_str = format_search_results(results, max_results=5)
    else:
        context_str = "No additional context provided."

    return generate_augmented_response(query, context_str)
def format_search_results(results: list, max_results: int = 5) -> str:
    """
    Format the top search results into a context string.
    """
    formatted = []
    for result in results[:max_results]:
        title = result.get("title", "No title")
        url = result.get("url", "No URL")
        snippet = result.get("content", "No snippet")
        formatted.append(f"Title: {title}\nURL: {url}\nSnippet: {snippet}")
    return "\n\n".join(formatted)

def generate_augmented_response(query: str, context: str) -> str:
    """
    Combine the user's query with the search context and send it to DeepSeek R1 via Ollama.
    """
    # Create a composite prompt
    composite_prompt = f"""

{context}
Please use the following web search results to provide the detailed summary of the request above.
{query}

Answer:"""
    response = ollama.chat(
        model="deepseek-r1:14b",
        messages=[
            {"role": "user", "content": composite_prompt}
        ]
    )
    return response["message"]["content"]
iface = gr.Interface(
    fn=chat_with_search,
    inputs=[
        gr.Textbox(label="Your Query"),
        gr.Checkbox(label="Enable Web Search", value=True)
    ],
    outputs="text",
    title="DeepSeek R1 with Web Search",
    description="Ask questions and get answers augmented with real-time web search results."
)

iface.launch()
Save this file as “deepseek.py”.
It’s okay if you don’t understand what the script is about for now. You just have to know that this Python script imports all the resources you need to run this chatbot locally and execute them.
Let’s run it in the terminal:
python deepseek.pyYou are expected to see this:
* Running on local URL:  http://127.0.0.1:7860

To create a public link, set `share=True` in `launch()`.
You may now type/paste http://127.0.0.1:7860 into your browser:

Congrats! You now have a local chatbot and do not have to rely so much on DeepSeek applications.
You can try typing in some prompts and interacting with the chatbot to see how it performs. Gradio provided a “Flag” button, a simple UI functionality that allows you to save the response and chat history in the project working directory as a CSV file (try it out!).
What’s After These
This was just a simple demo of setting up a functional local chatbot. Many optimizations could be made, such as improving the response formatting, using a better-distilled model (more parameters), improving the UI, providing feedback to the model, and preserving context history. When you become more seasoned in programming, you might also want to refactor and organize the code into a proper software project.
Again, send me a direct message if you need any help or if you want me to provide future guides to improve the chatbot's functionality. I don’t typically write very technical content in this newsletter, but when I do, I hope all the readers can learn something.
Expect various content over the coming weeks, including high-level knowledge bases and step-by-step guides about AI, robotics, self-driving cars, and other emerging technologies.
If this interests you, subscribe to “The Semi-Expert” newsletter to receive my weekly learnings directly in your inbox. I’ll keep you company on this journey as we adapt to these exciting technologies together.